Showing posts with label Big Shot. Show all posts

Sunday, September 1, 2013

More Six Sided Sampler

 When I was designing my swaps for convention I also created this card... that is why so many elements are the same :)  I have seen this layout of hexagons on pinterest a lot and wanted to make my own.  I like the mix of small and big hexagons but wasn't so sure that I liked the background embossed... which is why I chose the other card instead.  I love those simply pressed clay flowers though.  On this card I attached the gray flower with dimensionals! 
 
 To get the small Costal Cabana hexagon, I stamped the image from the Six Sided Sampler stamp set in Costal Cabana ink on Costal Cabana cardstock and then ran it through the big shot with the hexagon embossing folder.  I then used my paper snips to cut out the hexagon.  Another great way to  make different sizes of hexagons is to print them out using My Digital Studio. 


Monday, July 29, 2013

Chevron Ribbon Flower Magnet

Today I want to share with you the gift I gave my downline on Friday night. 
 
Doesn't that look so fun?  Ok but you are wondering what it is right?  Well first I made this tag using the Chalk Talk framelits.  That awesome shape at the top helps us attach the tag to the top of the candy bag.  I stamped it in Pistachio Pudding with the Delicate Doilies and glued on the magnets.  I wanted to use only one magnet but alas I needed 2 to keep it all together. 
 
If you didn't already guess, this cute flower is a magnet.  The magnet base I used only has the magnet part on the left... which is why I attached the circle magnets on the left of the tag. 
I attached the smoky slate chevron ribbon with onr of the jumbo sticky rounds... if you don't have any sticky rounds then sticky strip would also work.  The ribbon is actually threaded through a hole in the metal of the magnet back. 
So here are the pieces...
and when put together they create this fun gift!  Oh and the candy is super yummy melt in your mouth minty chocolate. 
I hope my downline will remember to dream and remember the fun times we had when they look at the magnet!
I would love to hear if you like this gift.... leave me a comment! :)


Sunday, July 28, 2013

Burlap Ribbon Love Tag

This year for convention I got an early start on my projects.   I found these awesome lacy tins and thought they would be perfect to decorate and give to my downline at convention.  Didn't they turn out so cute? 
 I love getting pillow gifts so I made a gift for my downline ladies for both nights we were there.  This was the Thursday night gift. 
 This tag uses a couple products from the holiday mini.  I love being a demonstrator so I can order everything a month early!  The Holiday catalog goes live in August :) 
I cut the tag out with the big shot and the Deco Labels framelits and stamped it with the Off the Grid stamp.  (this stamp is awesome!)  The ribbon is the new Soft Sky Seam Binding.  I am so glad this color is back!  It was the perfect touch of color to my neutral theme.  The holiday catalog products I used are the fabulous 1 1/4 inch Burlap Ribbon and the Expressions Thinlits Dies cut out the word Love (it also comes with the words thankful and merry)  I am excited to use these more this year!

Tuesday, July 23, 2013

Dress Up Framelits

I am in love with the Dress Up framelits.  We had a lot of fun at my stamping class in May.  I provided the supplies and these samples and let my friends choose how to dress up their dress form!


This last card uses the now retired stamp set.  I still love it though.
As you can see, the Dress up framelits have 1 dress form and 2 dress images that fit the dress form.  To see them in my online store click here: http://www.stampinup.com/ECWeb/ProductDetails.aspx?productID=130101
 They work great with the magnetic platform! 
Which card was your favorite?

Tuesday, March 19, 2013

Photopolymer Stampin' Up! stamps

Have you seen the new Photopolymer stamps?  I have definitely been having a lot of fun with them this month and I have 3 fun projects to show you using the Designer Typeset stamp set. These stamps are so fun, they are completely clear and moldable.  One thing I love about Stampin' Up! is that they ALWAYS sell quality products, so it isn't a suprise at how well these stamps work. 
 
 
I just loved this picture of my oldest and youngest and wanted to scrapbook it!  Yea for adding pictures to pages, I definitely need to work on this :)  Some of my favorite elements on this page are the arrows, banners, and the Natural Trim Ribbon (which I call the burlap ribbon).  The strip of Calypso Coral arrows were super easy to line up with this stamp set and I got it on my first try!  Yea for photopolymer stamps! 
 
 
One thing to note is when we get the stamps, the banner is a straight banner with no curve (a picture is shown at the end of this post) but we can mold these stamps to create any curve we like!  Don't worry the stamps hold their shape really well and as soon as you take the stamp off the clear block it straightens out again!  Don't you just love that banner? Definitely a must have stamp! 

 
You may be wondering where I got the other stamps for this card... they come in the very first Paper Pumpkin kit!  I love that splatter stamp!  To learn more about Paper Pumpkin and to sign up... click here.  (let me know if you sign up through me so I can welcome you to my Paper Pumpkin group)
 
 
Here is another card I made with the alphabet letters.
 
 
And a close up. Can you see the burlap inspired ribbon hiding behind the Flower Trim?  I LOVE both of those ribbons so much!  The Coral ribbon is actually a strip of the Tea for Two designer fabric, I wanted it to be a little more muted so I flipped it around so on this card we see the back of the fabric!


Here is a picture of all 57 stamps that come in the stamp set.  The best part?  They are only $13.95 for the set!  Definitely an awesome deal!  To order this just click on my shop now button here on my blog and on my website, we don't know how long this set will be available so get it while you can!
 
Are you excited to see what the stamp set will be next month!  I know I am.

Monday, March 4, 2013

Oh Whale Box Tutorial using Fancy Favor Die

A few of my friends and I were chatting at leadership and we decided to have a combined downline meeting.  This meeting was AWESOME, I am so lucky to have such a fun group of friends!  It was so fun to meet some of the new demonstrators in our group, I love meeting new stamping friends, it is one of my favorite things about being a demonstrator. 
 
All 4 of us created a class for everyone to make at the meeting.  I was able to make a few cards and a box to hold them with the Sunshine and Sprinkles Suite.  Don't you just love the Oh Whale stamp set?  It is definitely a favorite of mine and combined with the Clearlit to cut out the whales it is just awesome.
 
So enough chatting... you want to see the box I made right?  I actually made 2 boxes and let my friends choose which one we should make that night, I will share the other box with you soon.  So here it is!  I was so proud of myself that I came up with this box on my own! 


Don't you just love the scallops on the top?  It reminds me of the waves in the ocean.  Would you like to make your own?  I have included a tutorial for you!  Yea! 


Box Directions:
1. Cut out 2 Fancy Favor Boxes, cut it down to size making sure to have 2 "sides" and 1 "front".  It should make a M shape.  You will then cut off a portion of the tabs so they are only 1 inch wide.
 

2. DONT FOLD ON ALL THE LINES!!!  Make sure when you fold it you have the scored lines facing "in" so you won't see them on the finished box.  Fold on the score lines for the tabs on the bottom and only the 2 lines on the left.  After folding on the 2 scored lines on the left, cut out the notch on the bottom left.


3. Add Sticky Strip on both sides of both pieces as seen below.


4. Start putting the box together, remove the red part on the sticky strip and put together as shown.

 
5. Attach the other tab with sticky strip to create the box shape.


6. Remove the backing to the sticky strip on the square and rectangle tabs.  Fold in the squares on the ends first, then fold in the rectangle part and glue together making right angles in the corners.
         

7.  Adhere the other tabs.


8.  Place the 1 1/6 x 5 3/16 inch strip of Basic Gray Cardstock inside the box to cover the sticky strip and add some stability to the box. 


9.  Congrats your box is complete!  Now you get to decorate it!


To see the cards I made to fit inside the box come visit my blog soon!

If you make a box, I would love to see it!  Leave me a link in the comments section :)
Happy Stamping!
Kasia
 

Wednesday, July 25, 2012

Elegant Butterfly

I just love Stampin' Up!'s new elegant butterfly punch!  The old butterfly was so not cute compared to this one! 

The row of diamonds stamp is from the Border Banter set in the Holiday Mini Catalog.  I stamped them with versamark to give it a watermarked look... the basic grey stamp pad made them too dark.

Friday, April 6, 2012

Up, Up & Away


Don't mind the rip on the bottom of the card... My 2 year old LOVES scissors!

Sunday, April 1, 2012

Fruit please!


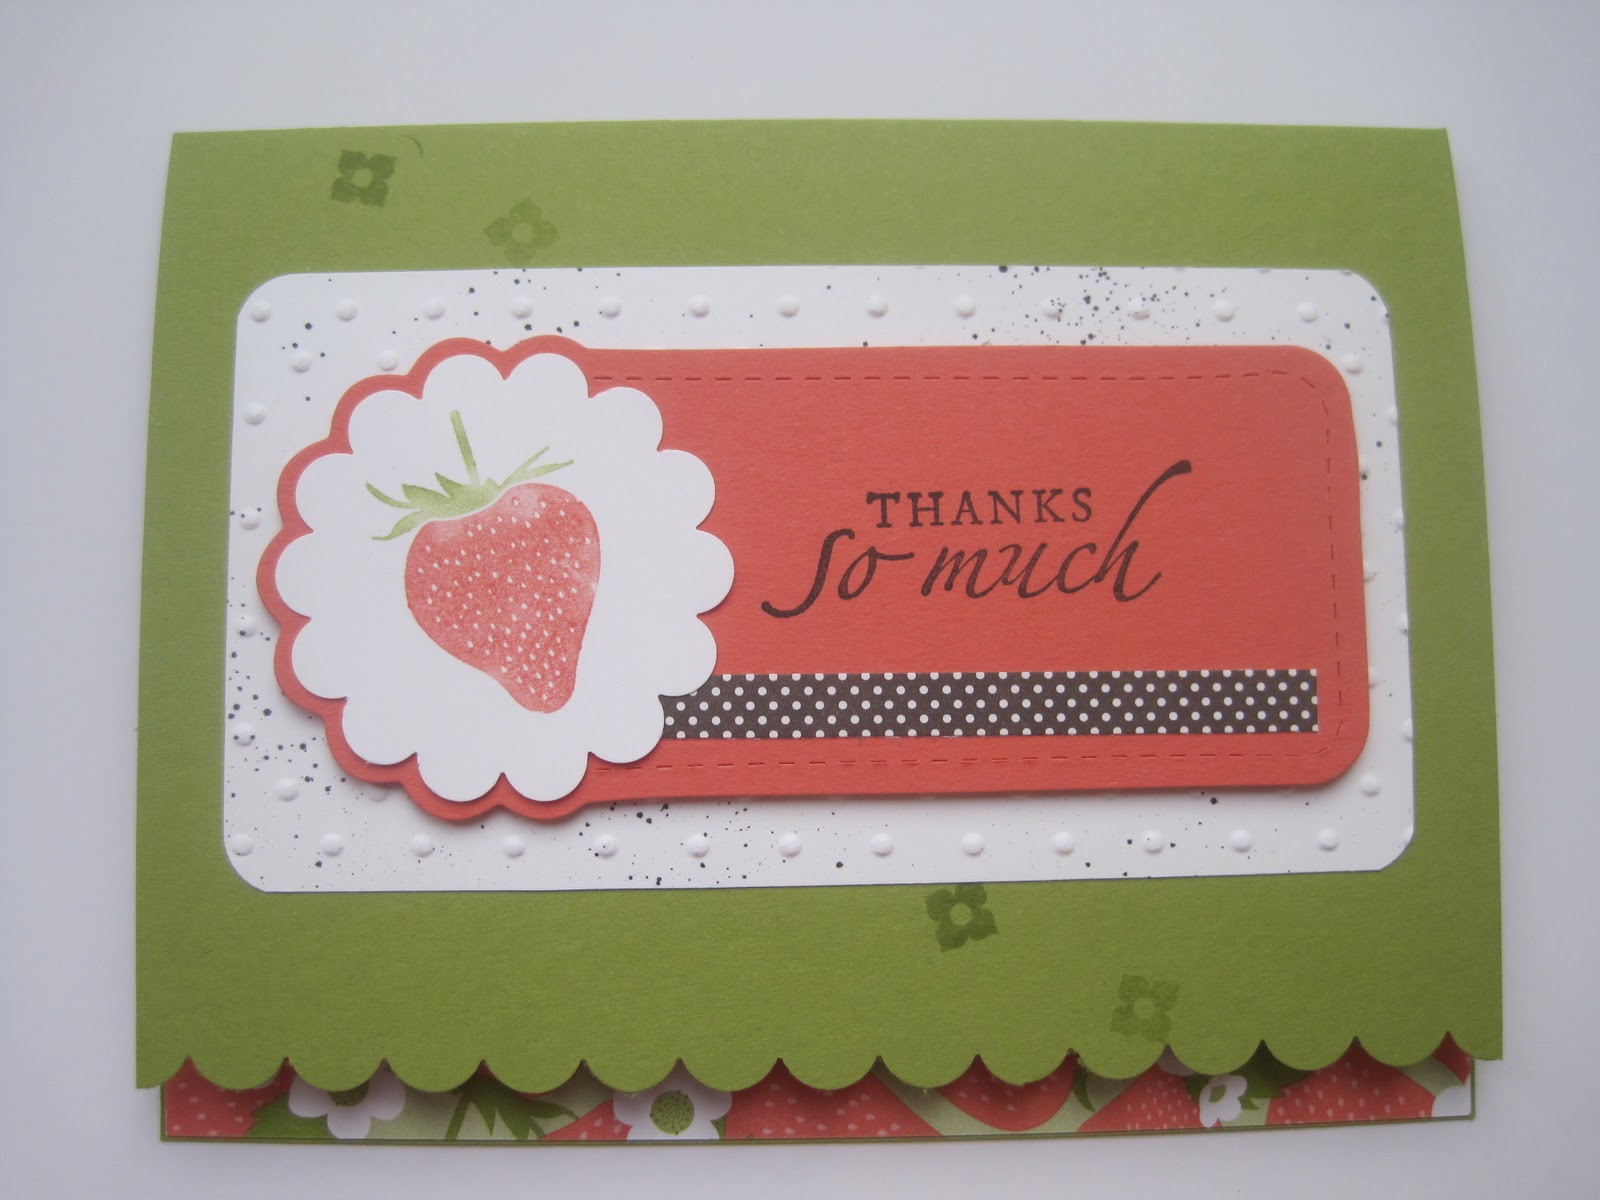
Here is another version with a strawberry.  I guess I took a picture before I added the pearls... but we added a pearl to the fruit.

Monday, March 19, 2012

Spring Kites

Who is ready for spring?  Man I know I am.  It was so warm for a week that my spring flowers bloomed! (just in time for it to snow last night... ugh!)  Well these cards make me excited for spring, the kites are so fun!  This is one of those stamp sets that I will keep around forever, especially since my kids like them.
 A lot of inspiration from this card came from Stampin Connection (a website full of ideas for Stampin' Up! demonstrators).  Can you believe that those clouds are from the cupcake punch?  Love the white on white...  I also love the green hill, it was just cut with the big shot edgelits! 
Ok so at my card class this month I offered 2 options, basically one card used the big shot and the other did not.  So this next card used the cloud stamps instead of using the cupcake punch and embossing folders, and it used the scallop punch instead of the big shot edgelit. 
Here's a closer look...