Friday, October 29, 2010

Spooky Crow.

Sorry, this picture isn't straight on, the clear plate kept making wierd reflections even without the flash on, So you get to look at it from the top :) I totally copied this idea from my talented friend Ashley. I just simplified mine and added the DSP to the back of the plate instead of the front. I now have this on my stamp shelf so my baby can't touch it, yep I love it that much :)

This crow comes with a bunch of other fabulous vinyl images. I just need to figure out what to do with the rest of them asap!

Thursday, October 28, 2010

Got Birthday?


I just love cupcakes. I was challenged to make a birthday card that would work for both men and women and this is what I came up with. We made this at a class and holy cow I seriously looked for the little flower punch FOREVER. I couldn't find it anywhere, my one year old loves to carry these little punches around since they fit perfectly in her little hands :) Luckily I found it in time, the cupcake just isn't the same without it!

Can you see the texture on the chocolate strip behind the cupcake? that is our fabulous textured cardstock. Love it.

Monday, October 18, 2010

Hearts and Pumpkins

Here are the last 2 cards I designed for the group meeting this month. This first card was pretty simple... the second one took a lot longer to make. I loved the dimension on this first card, usually the stamped image is on top, but on this card, it is on the bottom. :) To make this circle/heart image, first punch out the heart out of cardstock and then punch out the circle around it.


To only emboss the top half of the card, I just turned the embossing folder so it was facing the opposite direction that it usually faces. The green border was made with the new decorative label punch, and we stamped the pumpkin with the rock and roll technique.


Here is a picture of the inside. You can see all the different layers.

Sunday, October 17, 2010

Spooky Club Pages

Here are a couple of close-ups of the club pages this month.
Here are the pages!


Check out this fun paper, the dark black circles are fuzzy!

Halloween is so much fun!

Saturday, October 16, 2010

Poppy Christmas

This card just makes me smile. I am not sure if it is the ruffles, ribbon, bling, or scallops.

The ruffle is actually made from Old Olive cardstock. I first crumpled the strip of cardstock in my hand and then layed it out in ruffles.


I am also loving the Poppy Parade color. It is one of the in-colors, I even just bought a shirt in the same color. So fun! This DSP comes from the hostess paper stack that you can get for free.


As you can see, I sponged the greeting with poppy ink and I also sponged the edge of the white oval that was cut out with the ovals die and the big shot.
I still can't believe I am already making Christmas Cards!!!

Monday, October 11, 2010

So Spooky

I LOVED making these cards, halloween is awesome - probably my favorite holiday. I was able to use so many new punches that I love for these cards! We added a bit of bling to the witches shoe - love the rhinestonesI showed my ladies these three options and It was fun to see the different combinations of cards that they made. I let them choose between dry and heat embossing and let them have fun with the different images. We used the shimmer spray to sparkle the bats.


We made these cards for Stamp Club this month. Some people wanted a non-halloween option so I used a different stamp set and embossing folder to make this card.

Sunday, October 10, 2010

Paisley Prints Cards

I created some cards for a downline meeting this weekend, and I can now show them to you! These cards were made with the Paisley Prints stamp set (in the mini). I have to admit that I didn't like this set very much at first. I am not a big fan of paisleys (although they are slowly growing on me) and I was hesitant to use this set, but I ended up loving it. Isn't that how it always is? I will show you the first two cards today, and the last 2 cards soon. This card was my absolute favorite out of the six I made. I love the ribbon! This is the card we will be making next month at stamp club!
I can't believe Christmas is just around the corner! This card would be perfect for Christmas Cards, it is pretty simple and love it. We used Stampin' Up! fabric instead of ribbon!

Saturday, October 9, 2010

Fabric Neclace with the Big Shot

I made this a while ago and keep forgetting I have it :) I covered some beads with fabric circles (cut with the big shot) and strung them on wire with some flowers cut from the baskets and blooms die. I attached it to some ribbon with toggles on both ends. My favorite part is the flower. It is actually a pin that I just hooked to the ribbon :) The Big Shot is amazing. seriously don't know what I would do without it!


Friday, October 8, 2010

T-Shirt Re-Fashion

I have been having a lot of fun lately re-fashioning shirts, especially for my little girl. For this shirt, I used the larger scallop on the Scallop's 2 die and the letter A from the simple letters alphabet.

I also had to make a matching hair accessory. For this I used a die that is retired but you could use any one. I just layered a bunch of layers of white and pink fabric and attached it to a felt circle.Then I hot glued it to the headband and added another felt circle (one on each side of the headband)This shirt is one of my favorites. It has also lived through MANY washings and still looks great since I stitched around the edge with a zig zag stitch! I also made a shirt for myself. - my hair is all in my face - the wind was blowing like crazy but the pictures inside didn't work very well...


Can you guess what big shot die I used for my shirt? The flowers aren't very recognizable now that I washed the shirt - but I LOVE how messy they look!

I actually bought 2 of the same shirt, one my size and another the largest size I could find so I would have the most amount of fabric :) I used about half of it and now I can save the rest for another project. (I already used some for a rosette necklace!)

Here is a better picture of the flowers. They look more like flowers in this picture, can you guess the die yet? I first pinned on the flowers and layed out the ruffles like this, and pinned them on a little as well before sewing them. I started with the bottom ruffle and worked my way up and sewed on the flowers last.

Yep I used the flower folds die! I layered 4 flowers on top of each other. (the flower on top is a little bigger than the other 2) I also cut some fun ruffle strips to add as well. I sewed these on with some brown thread for a little contrast.


Sorry for the awkward picture - I took it of myself :) But here you can see the stitching a little better. I just sewed on the flowers with a spiral.

Tuesday, October 5, 2010

Paper Rose Tutorial

I had some Big Shot fun today. Aren't these roses cool? Well it started out looking like this:

I cut this with the table setting big shot die.


All you do is roll it up, I like to start from the outside and roll it in.

Here is a picture from the back. As you can see, it sits nicely on the center of the spiral. I glued these with hot glue. You can also do it with Crystal Effects but it takes longer to dry. I then cut some leaves from the same big shot die and glued them to my embossed pillow boxes.

I glued one end shut and added some velcro to the other end. Now I just need to fill them with something :)

Monday, October 4, 2010

Sewing on Paper

Yes this paper is retired but I forgot to show it to you when it was current. And I love it :) I actually love sewing on paper, when I was younger, I learned how to sew by practicing on paper before using the fabric :) To sew this book together, I just cut out 4 strips of cardstock and sewed them together. Since the cardstock was so thick, I manually sewed it.

I then trimmed the open end all together to create a smooth edge and stuck some dsp pieces on each end.

Sunday, October 3, 2010

2010 In colors

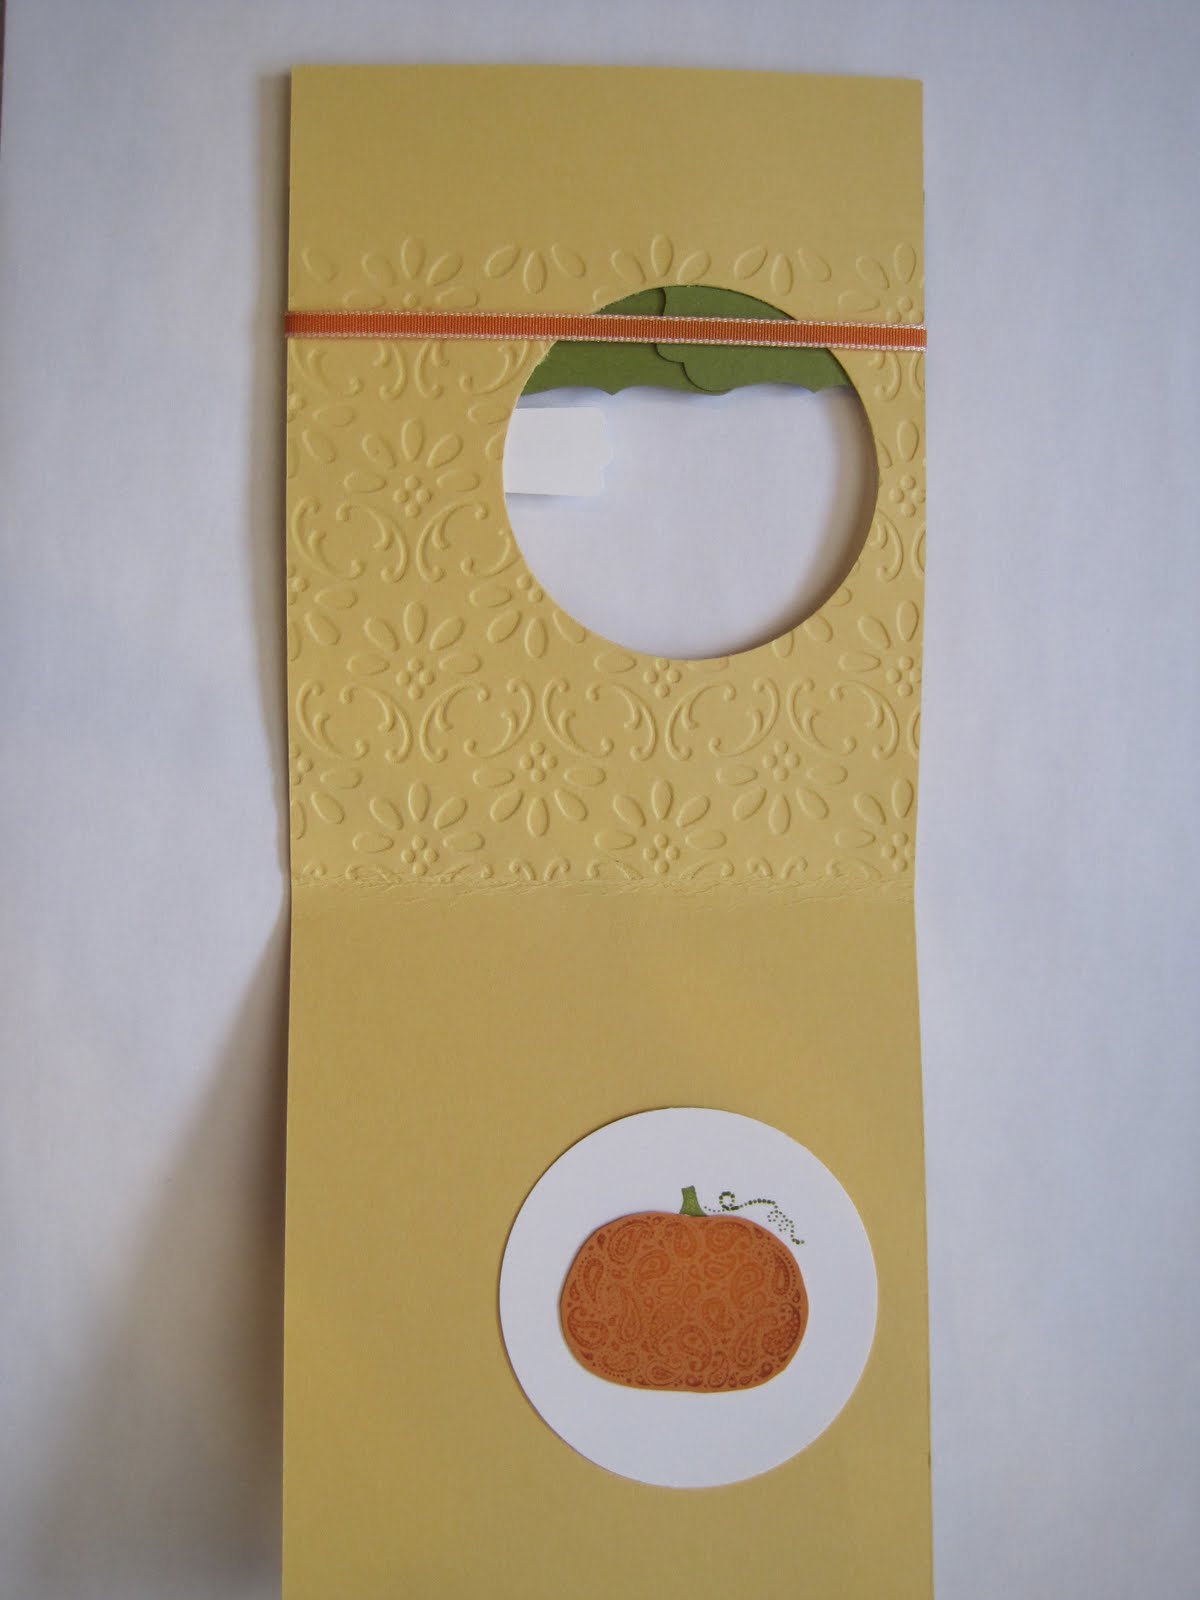
I Love Love the in-colors this year - I am glad they are here for 2 years!!! I saw a similar card on the display boards at convention and fell in love. The card they displayed only had a greeting but I wanted to stamp in each of the colors. This is such a fun way to use more than one embossing folder on a project.

Which card is your favorite and do you think every card should have a greeting?

Saturday, October 2, 2010

Wedding Shower Invites

I have been making a lot of mass projects lately :) My friend from High School is getting married, and I was able to help throw her a bridal shower. Here are the invitations, super simple, I stamped the medallion stamp set lightly and added a butterfly. I love how the embossing folders give it so much texture.

I love the halfback pearls and rhinestones. I use them ALL the time! For this project I first started putting the large pearls on the butterflies, and then decided I liked the little ones better. Most of the pearls are just individual, but there are a few strings of them attached together, I used those ones. I just snipped the paper every 3 pearls to break them apart and adding them to the butterflies was simple.
You can't see it, but I sprayed the butterflies with shimmer spray I made from the shimmer paint to make them sparkly.

Friday, October 1, 2010

Fabric Flower and Music Notes

I made a few more fabric flowers and this time I put them on cards. Don't you love the Antique brads? I know I do, I have already gone through a few packs of them!
Here is the finished card...
It opens a little different. The bottom part (with the flower) folds down and the top part opens up. I am loving this Music Notes wheel. Now that I have this, my mom's old piano music will be spared (I have already cut up a few of them... shh don't tell! She won't miss them I promise) Oh and on a side note, you can't play the music written on it, the music was definitely written to look pretty, not play a pretty song, but it serves it's purpose.


the finished cards...